Barbie Birthday Party
Barbie has always been a big deal and with all of the hype around the movie, it was a perfect time to host a Barbie birthday party for my daughter! When I started planning her party, I knew we had to have a life size Barbie box for photos. My mom’s always up for a project, so I convinced her to help me DIY a Barbie photo box. In true fashion, she told me never to ask her to do this again haha. It was definitely more effort that I want to admit but completely worth it and made the party. If you have a Barbie lover and are up for a challenge, this is a great idea for your next birthday party. Barbie photo box or not, your Barbie party is bound to be fun!
At the party, we split the girls into 3 groups and had 3 stations for them to rotate through. The first station was the Barbie photo box. I got a hot pink tablecloth and taped it on the floor in front of the photo box for a pink carpet. The girls had fun walking down the pink carpet and then each of them posed in the Barbie photo box. I ordered a mini polaroid camera and film to send their photo home with them. The next station was pin the bow on Barbie and for the third station we set out my daughter’s Barbie dream house, Barbie camper, and Barbies to play with. After cupcakes, I had Barbie bracelet kits for the girls to make their own bracelets. We played songs from the Barbie movie and everyone had a blast. You can also do a Barbie movie viewing as an alternate idea.
To make the Barbie photo box, it’s easier if you have another set of hands to help and it takes a couple of hours to make. I ordered a pack of 4 trifold poster boards, hot pink wrapping paper, a Barbie backdrop, a Barbie decal, and hot pink duck tape.
To make the back of the photo box, start by taping 2 of the poster boards on top of each other with packing tape, so you have the height of 2 boards. Wrap the outside of the poster board in the hot pink wrapping paper and then cover the inside of the poster board with the Barbie backdrop. Set aside while you’re making the front of the photo box.
To make the front of the photo box, take the other 2 poster boards and lay them on top of each other, matching the height of the back of the box. From there, measure and cut a cutout for the front of the photo box (this is how you’ll get in/out of the box). Tape these 2 poster boards on top of each other with packing tape and wrap in hot pink wrapping paper. Put the Barbie decal at the top of the box.
To assemble, tape the sides of the back and front of the photo box together. I used packing tape to start and reinforced with hot pink duck tape.
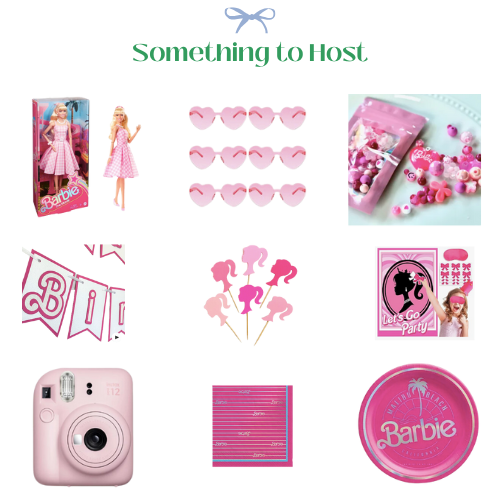
To host a Barbie birthday party, shop the products we used for my daughter’s party below. Let’s go party!
Barbie Birthday Party Essentials
Shop my handpicked products to bring your Barbie birthday party to life.


